Healthy & nutritious, Vegan, Top 8 Free, homemade granola bars.
(this post was previously written in 2014 but has been updated with new photos)
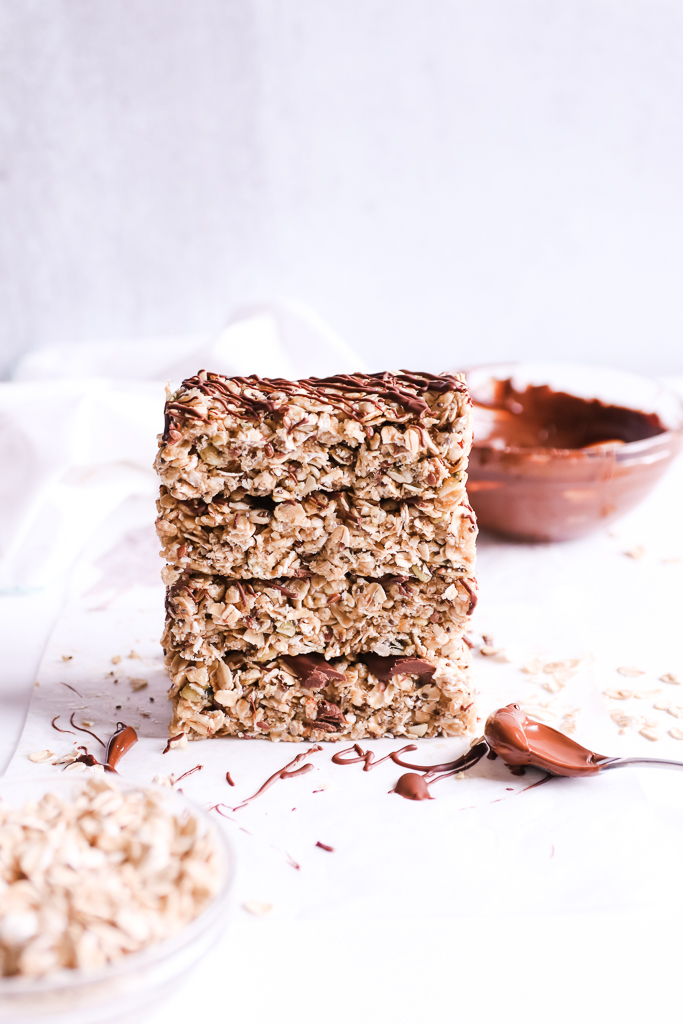
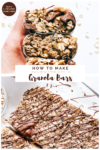
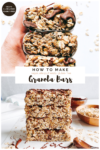
Better for you Granola Bar
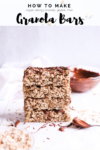
Say goodbye to boxed granola bars! These delicious, no-bake, Vegan and Allergy-free bars will have your kids begging for more and you won’t feel guilty for saying “yes”.
These bars were inspired by the ‘not-so-healthy”, “not-so-allergy-friendly” bars on the market today. I cannot tell you how many times I’ve just stood and stared at the rows and rows of bars in the grocery aisle. Have you ever done that? It can be overwhelming just looking at all the choices but then take into consideration trying to find ones that are allergy-safe, and that’s a whole nother level of stress. There have been a few times when I thought “this is it, I think I found a bar that is healthy”, but then read through the ingredients only to see that it contains 1 or more of our allergens.
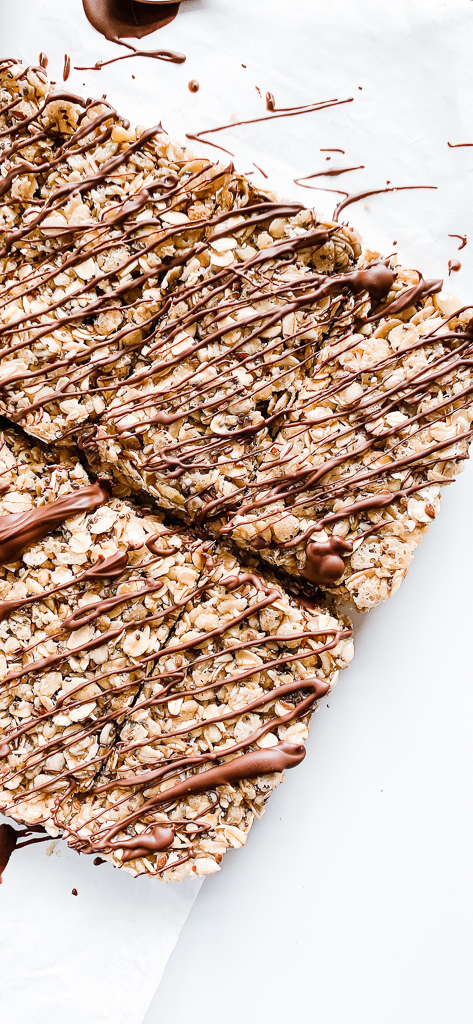
Allergy Free Granola Bar Recipe
Because of this, there aren’t very many bars that I can safely recommend, so I decided to make my own homemade granola bar. This recipe is by far our favorite and since they never last long, so be sure to make an extra batch! I call it our “Go Go Granola Bar” because it’s perfect for moms, dads and kids on the go, and they go rather quickly :). It’s also perfect for those of us who want a healthy bar, filled with real food, good fats, protein and none of the Top 8 allergens!
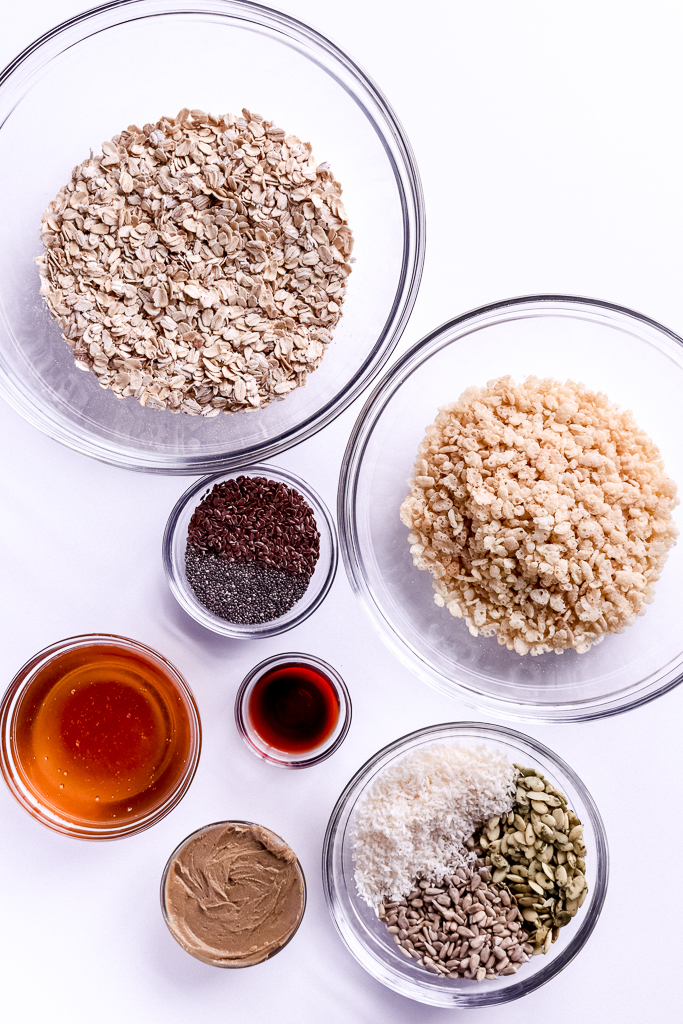
Simple, Easy Ingredients
Keep in mind that when you see a recipe, its not the End-All! This is where you just have to jump in and have some fun. I look at recipes as suggestions and make whatever substitutions are needed to make the recipe safe for our home without compromising on taste. The last batch I made of these, I was actually short on the brown rice cereal so I used Awsum’s puffed quinoa cereal for the last 1/4 cup AND low on Brown Rice Syrup so I just made up the difference with pure Maple Syrup. I wasn’t going to let that stop me from making these bars!
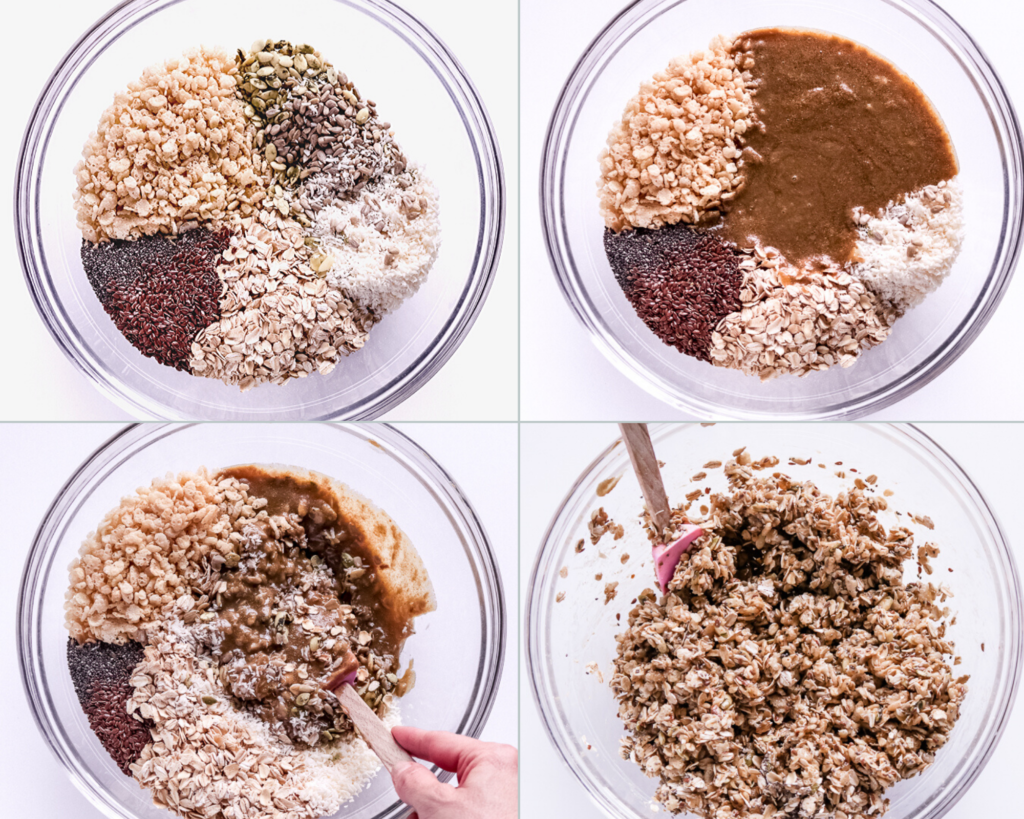
I love the fact that these are simple to make and no baking is required. Plus, these store well in the refrigerator for up to 2 weeks or feel free to store them in the freezer for up to 2 months. However, I doubt they will last that long!
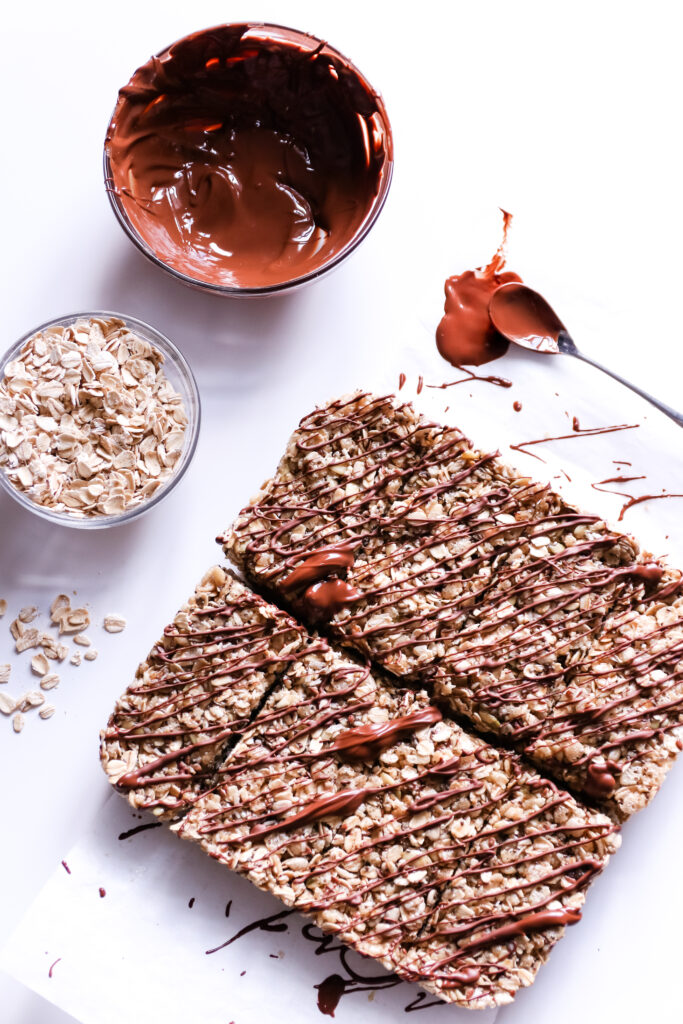
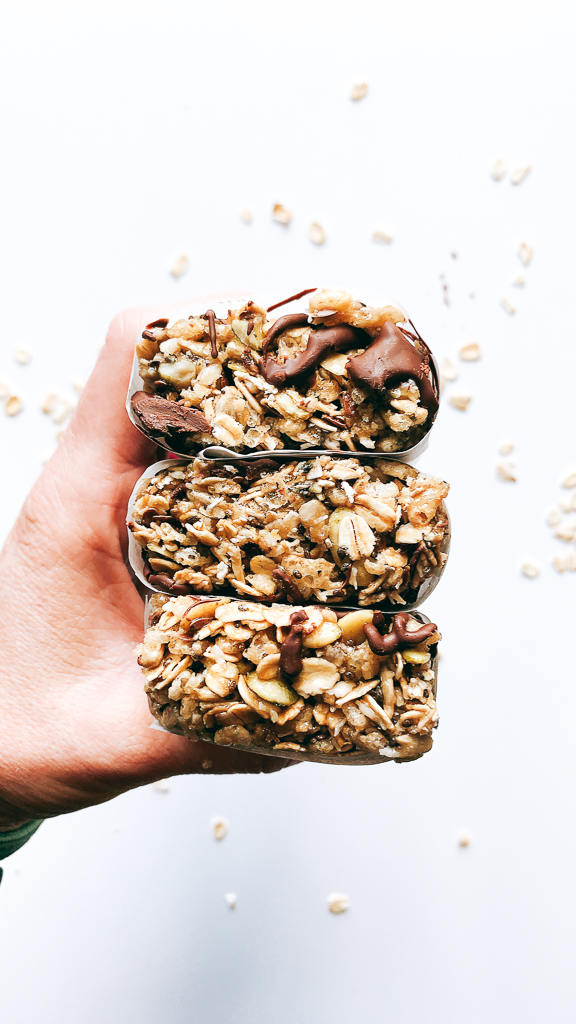
The biggest reason these are my favorite bars is because my kids absolutely love them! You can use them for an after school snack, quick breakfast or even a treat to put in the lunchbox. And with all the junk that the store bought bars have in them, isn’t it nice to know that you can whip up a batch of your own healthy bars in the same amount of time it would take you just to drive to the store?
Just in case you want to see how easy it is to whip these up, check out this fun segment from our local news here in Tulsa, Oklahoma. (BTW, this segment was from 2016, when the blog was called Xander Friendly Foods – anyone remember that?).
Other Gluten-free Granola Recipes You’ll Love
Oatmeal Cookie Granola Parfait
Go Go Granola
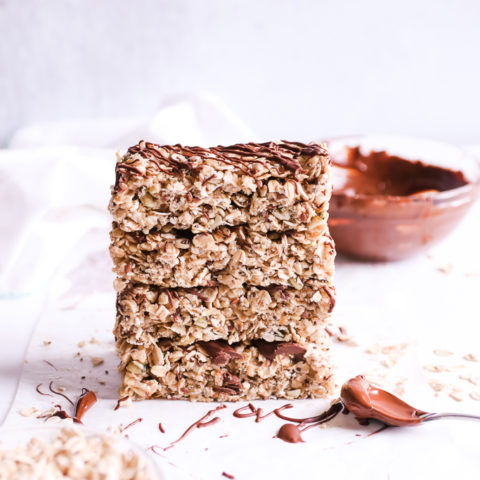
Say good-bye to the boxed granola bars! These delicious, no-bake, Vegan and Allergy-free bars will have your kids begging for more and you'll be happy to do it.
Ingredients
- 1 1/2 C. Gluten Free Rolled Oats
- 1 1/4 C. Gluten Free Brown Rice Cereal
- 1/4 C. Sunflower or Hemp Seeds
- 1/4 C. Pepitas (pumpkin seeds)
- 1/4 C. Unsweetened Coconut Shreds
- 2 TB. Sesame Seeds or Flax Seeds
- 2 TB. Chia Seeds
- 1/2 tsp. Cinnamon
- 1/4 tsp. Pink Himalayan Sea Salt
- 1/2 C. Liquid Sweetener (Brown Rice Syrup, Pure Maple Syrup, Agave or Just Date Syrup)
- 1/4 C. SunButter
- 1 1/2 tsp Pure Vanilla Extract
- 1/4 C. Vegan Chocolate Chips (Enjoy Life)
Instructions
- Line a 9x9 square glass dish with parchment paper.
- In a large bowl, combine the oats, brown rice cereal, seeds, coconut, cinnamon and salt.
- In a small sauce pan, stir together your liquid sweetener and no-nut butter over low heat, until well combined. Cook until mixture softens and blends together. Remove from heat and stir in vanilla.
- Pour warm mixture over the oat mix and be sure to scrape it all out! Stir well with a wooden spoon so that everything is coated well.
- Allow mixture to cool slightly before adding in chocolate chips, unless you want them to be melted! Or just drizzle chocolate chips on at the end once bars have hardened.
- Transfer mix to prepared pan, spread out evenly.
- Lightly dampen hands or spray them with non-stick spray. Firmly pat down mixture to even it out and make compact so the bars stay together better.
- Place uncovered pan in freezer, for approximately 10 minutes, or until firm.
- Using a serrated knife, slice into 12 bars or 16 squares while in pan. Use overhang of parchment paper as a handle to pull bars out of pan.
- Wrap bars individually and seal in an airtight container in the refrigerator or freeze up to 1 month.
Notes
*These bars are completely versatile. Add in dried fruits such as blueberries, strawberries or mixed blend. If you don't have an allergy, feel free to sub in sliced almonds.
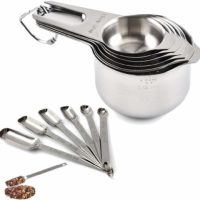
Recommended Products
As an Amazon Associate and member of other affiliate programs, I earn from qualifying purchases. Please see my FULL DISCLOSURE POLICY for more details.
Nutrition Information:
Yield: 12 Serving Size: 1Amount Per Serving: Calories: 169Total Fat: 10gSaturated Fat: 3gTrans Fat: 0gUnsaturated Fat: 7gCholesterol: 0mgSodium: 66mgCarbohydrates: 16gFiber: 3gSugar: 4gProtein: 5g
Nutritional information is only an estimate based off of using an online calculator. Numbers will change depending on brands used.





Yummy! Homemade granola bars are the best! I actually make some that are very similar, so I know I would love these! Brown rice syrup works so well to hold everything together. Love this Go Go Granola! 🙂
You are so right, homemade bars are the best and brown rice syrup just works perfectly in them. I’ll have to check yours out too. Feel free to share the link.
These look so good, and I love how easy they are to make!
Yes, so easy! It takes as long as it would for me to drive to the store and buy some less-healthy ones.
I love how easy these are! And they’re so much better than anything store-bought.
SO easy Dianne! I love that I KNOW everything that went in them too.
They look so good! I love that they are no bake. that’s even better!
It’s disheartening to read the labels on granola bars. People think they’re doing something good for their bodies when they eat them, sadly, they might as well eat a candy bar. These, on the other hand, look amazing, and so healthy.
Glad you were able to make some of your own bars! They look so hearty and good!
Always more fun to make them, right?
I love all of the bits of goodness in these! I enjoy making bars like this so much, that I don’t understand why I still buy bars at the store!
They only bars I end up buying now, are Enjoy Life for little man. But yes, these can get thrown together in no time. Maybe when you have downtime, you can make and freeze a batch 🙂
This is the perfect snack! I love all the healthy ingredients. 🙂
Thanks Sina. Very little guilt when eating these 🙂
I loved your tv segment! You did amazing! I love these bars too, they look so hearty, healthy and of course, delicious!
Oh, thank you! That was so much fun to do and hopefully it inspired more people to make their own, healthier bars.
My Daughter made these bars but they separated it was like they had too much liquid in the recipe. She followed it exactly as it stated any suggestions would be appreciated
What sweetener did you use? It’s possible that the brand of item chosen was a more liquified sweetener. I use more of a thicker syrup, not a runny agave or thin maple syrup.
They were really sticky and fell apart
They are more delicate unless you refrigerate. The only thing for being sticky would depend on what type of liquid sweetener you used. Which did you choose?