Don’t be intimidated by making your own sprouts. This step by step guide will help you become a pro at Soaking & Sprouting.
Did you ever have a Chia Pet when you were growing up? They were those silly clay pot characters who magically grew green sprouts of “hair” when you spread this mixture on them? Back in the 80’s, these were all the rage, but what I didn’t know then, and what I do know now, is that this was simply a process of sprouting the now popular Chia seed. Seems a little crazy that we used a “superfood” to create an unusual figurine for our window seals but it’s great insight on just easy sprouting nuts and seeds can be.
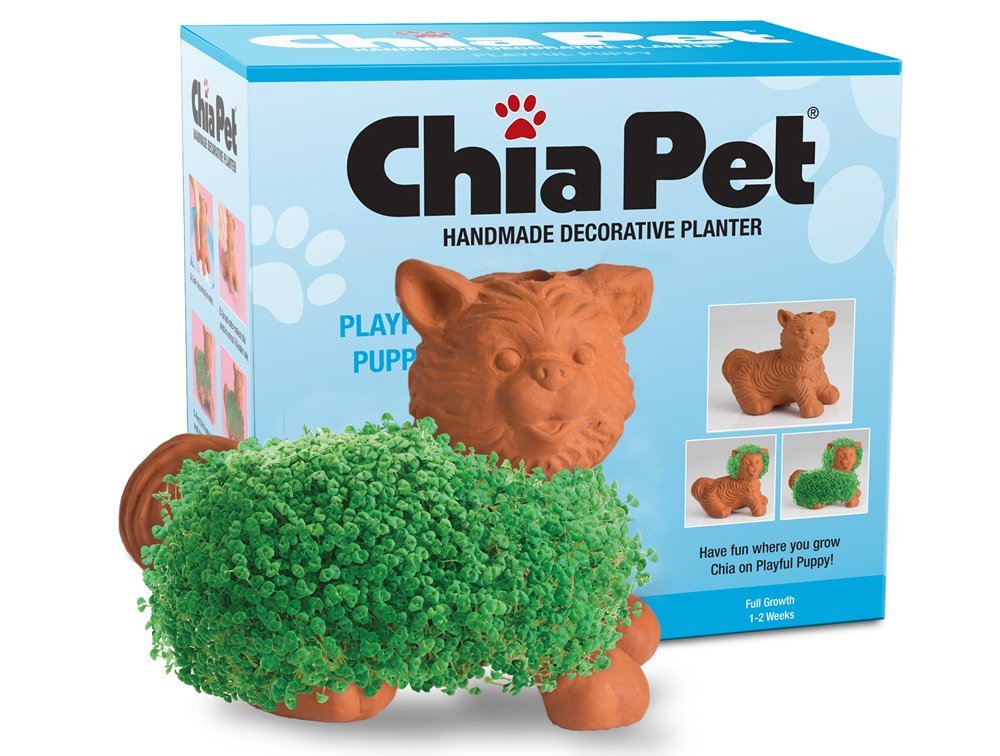
Cha-cha-cha-chia
Even if you never had a chia pet, you’ve had to have heard about sprouting. Maybe you read about it in your health magazine, maybe you purchased some alfalfa sprouts for your salad, maybe you looked into sprouting but all the specialized boxes and jars have you confused. SO let’s just start with what sprouting IS, to get the basics first.
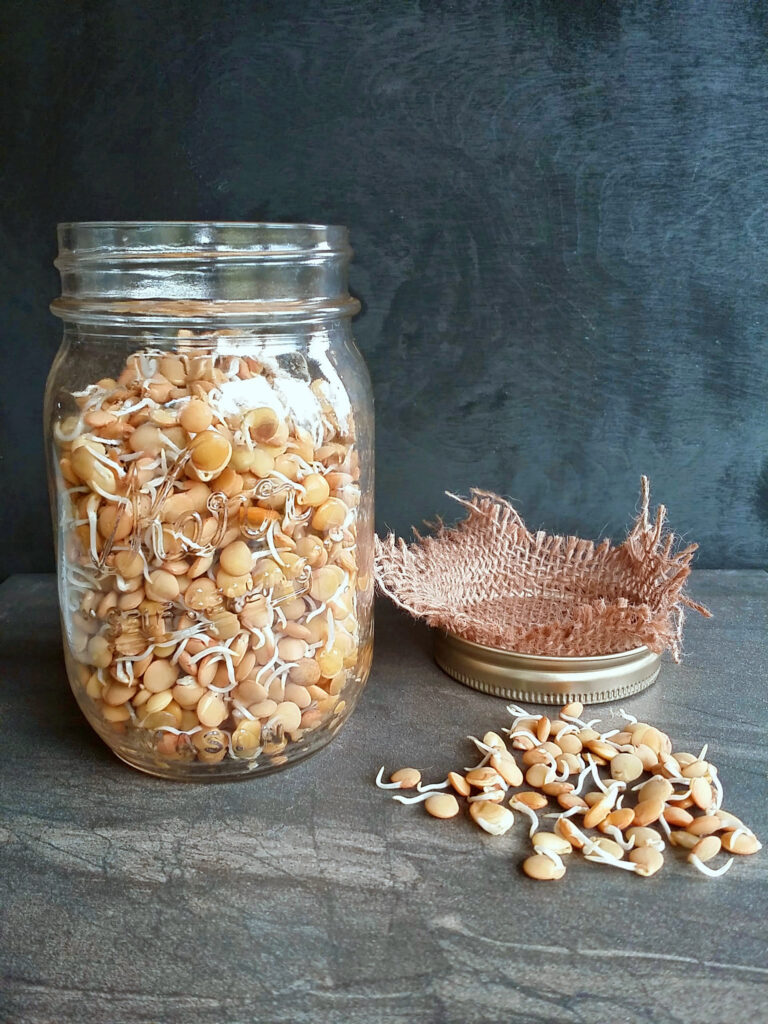
Sprouts are a great way to get more flavor, texture, and nutrition into your diet! Sprouts are plants in their smallest form – micro seedlings that grow from the germinating of the seed. Sprouts reduce anti-nutritional compounds and are loaded with easy-to-assimilate, highly digestible nutrients, including vitamins, minerals, proteins, and enzymes.
Sprouting is as easy as making a Chia Pet, and can be done anywhere, no soil needed. If you have ever thought about starting a garden or getting your kids involved in the kitchen, then sprouting is a great place to start & is a wonderful educational project for the family. And, they’re delicious too once they are grown, so your kids will actually want to eat what they grow! Each seed, grain or legume has its own texture and flavor, there is a sprout for every dish.
Now for the more educational section on Why we Sprout……..
To remove or reduce phytic acid. (This acid reduces the absorption of nutrients)
To neutralize the enzyme inhibitors. (This allows less strain on the digestive process)
To encourage the production of beneficial enzymes. (This only happens when soaking and sprouting take place prior)
To increase the amounts of vitamins, especially B vitamins. (Once inhibitors are neutralized, vitamins are released)
To break down gluten and make digestion easier. (Soaking and sprouting breaks down these compounds as well)
To make the proteins more readily available for absorption.
To help neutralize toxins in the colon and keep it clean.
To remove or reduce tannins. (This is the natural “bitter” covering that protects it from predators)
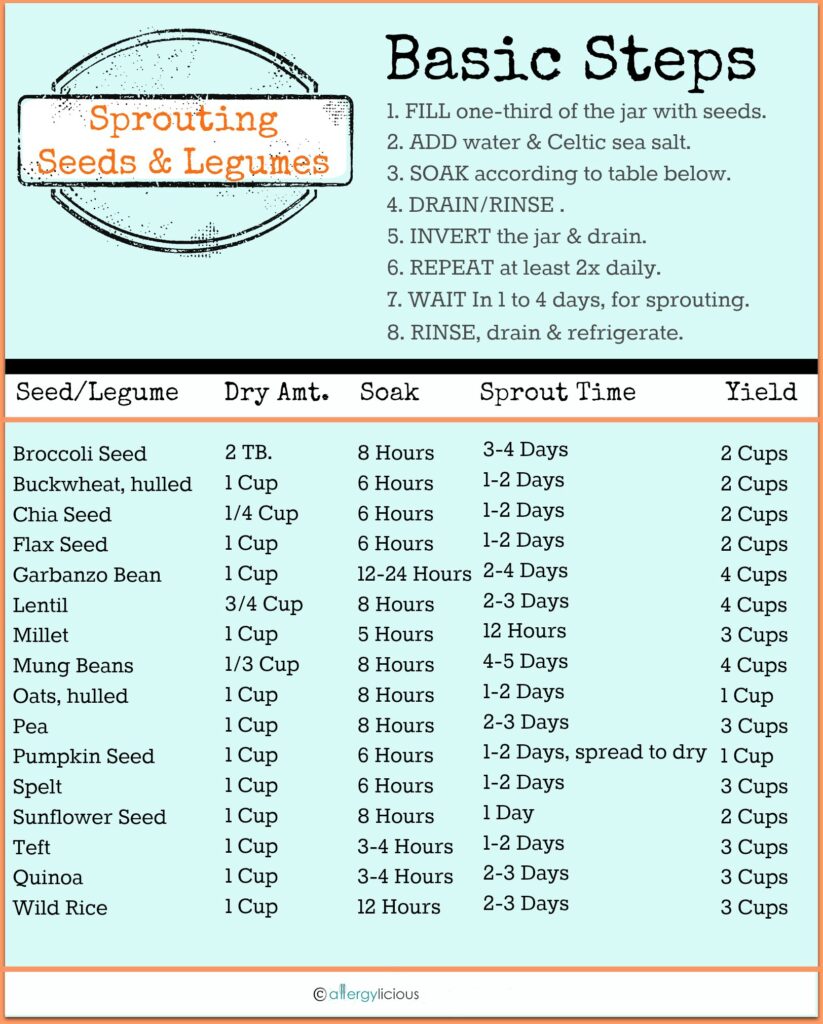
So now, this is WHAT to SPROUT………..
So, are you ready to start sprouting? Just use the simple guide above as your reference and follow the steps below. Nuts can also be sprouted (soak them overnight, rinse, then let them lay flat to dry) but I did not include them due to this being a “nut free” blog.
Soaking & Sprouting Instructions

Soaking & Sprouting 101
Sprouts are easy to do at home and a fabulous nutrient-rich addition to salads, sandwiches, and wraps, and are also tasty in smoothies, soups, and stews.
Ingredients
- FIltered water
- Sea Salt (Himalayan or Celtic)
- Cheesecloth or fine mesh cloth
- Mason Jar
- Seeds, Nuts, Grains or Beans of choice
Instructions
- GET a quart-sized (or larger) mason jar. Remove the solid middle insert of the lid, and cut a piece of cheesecloth or breathable mesh to fit inside.
- FILL one-third of the jar with nuts, seeds, grains, or beans, and fill the rest of the jar with warm, filtered water and about 1 tsp sea salt.
- Screw the lid on with cheesecloth or breathable mesh screen in place.
- SOAK For soaking times, see table.
- DRAIN/RINSE Remove the mesh insert of the lid, and replace with metal insert. Pour the soaking water out of the jar, fill with fresh water, replace lid, and rinse well by shaking jar. Replace the metal insert with the mesh lid again, and drain.
- INVERT the jar and lay at an angle so that air can circulate, and the water can drain off. Allow to sit in the light.
- REPEAT this process, rinsing every few hours, or at least twice daily.
- WAIT In 1 to 4 days, the sprouts will be ready. Sprouts vary from 1/8-inch to 2-inches long. When ready, rinse sprouts well, drain, and store in a jar (with the solid part of the lid replaced) in the fridge.
Notes
ENJOY within 2 to 3 days. Sprouts are a fabulous nutrient-rich addition to raw salads, sandwiches, and wraps, and are also tasty in smoothies, soups, and stews.
So what are you waiting for? Try sprouting today and find me on Facebook, Twitter or Instagram and share your photo! I’d also love to hear your comments if you are new to sprouting or if you have some favorites you like to sprout on your own.






Hello, great information. Once I have my sprouts, how do you recommend drying the sprouted for toasting? (making a crunchy snack)
Yes, I’d at least blot dry.